
How to steam a shirt
Steam a shirt on a hanger in an order that keeps its panels separate, then decide how to finish the collar, cuffs and button band.
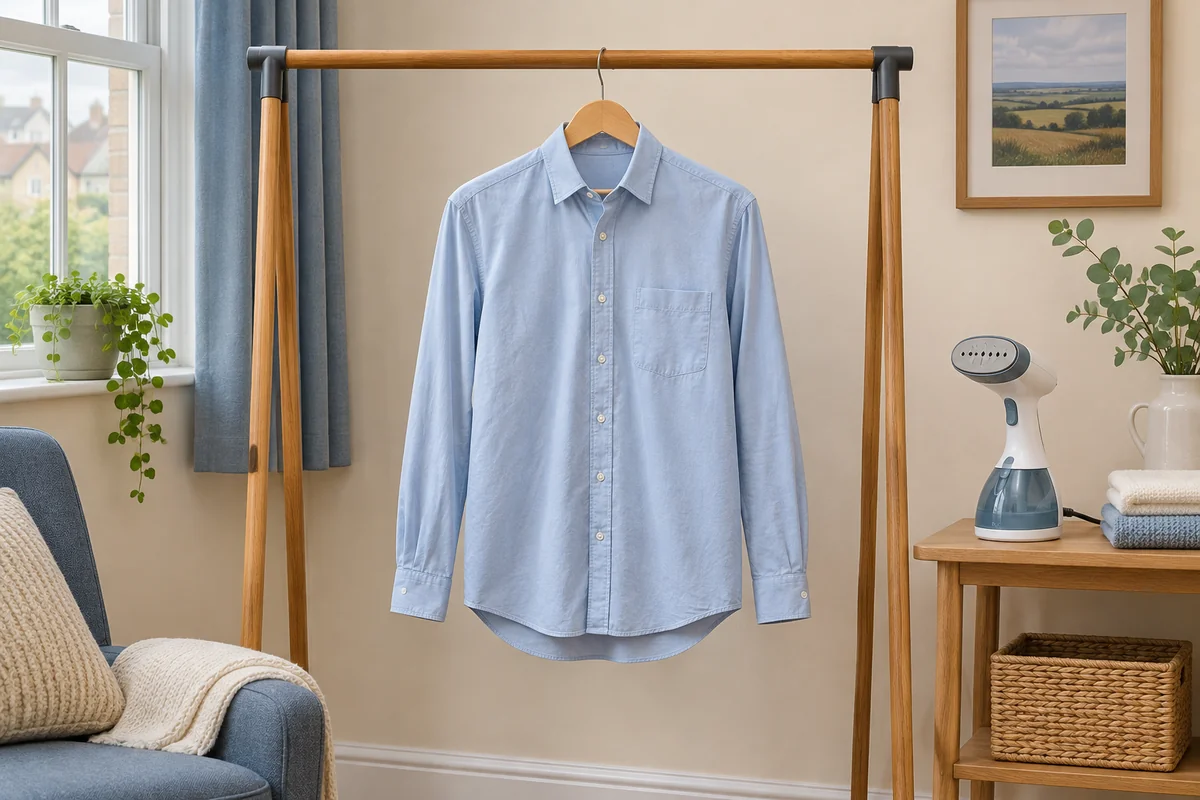
Decide where you want a soft or pressed finish
A shirt has broad panels that can hang freely and smaller areas where layers meet. The back and fronts often respond to hanging steam when the fabric permits it. The collar, cuff and button band may need flat support if you want their edges to sit sharply. Decide which finish you need before concentrating on a stubborn line. Philips guide to steaming a shirt.
For a relaxed linen or cotton shirt, you may only want to soften a packing fold across the back. A dress shirt worn under a jacket may need its collar and visible front attended to as well. Read the shirt’s label first. Check buttons, prints, collar inserts and any trim with separate care advice. Treat a stain according to the cleaning instructions before using heat. Clothes care symbols explained.
1. Hang the shirt and give the panels room
Use a secure hanger that supports the shoulders. If the shirt slides off, fasten a button that lets it hang evenly. Open the other buttons as needed to keep the front panels separate and undo the cuffs. Remove detachable collar stays if the shirt maker advises it before applying heat. Check how the shirt hangs before turning the steamer on.
Put the hanger at a height where you can reach the shoulders and hem comfortably. Leave space around the fabric, then fill and warm up the steamer following its manual. Keep your hands out of the steam path, including behind the shirt. Start on a small, less visible area and inspect it after it has cooled and dried. Handheld steamer setup and safe use.
2. Smooth the back and front panels
Start with the back or the broadest part of the shirt. Find the yoke seam across the shoulders and note whether there is a box pleat or extra fabric below it. Let the pleat sit as designed while you work the plain panels. Use the head position and contact specified by the manual, moving in controlled passes so you can see which strip you have already treated.
Turn the hanger and work on each front separately. A shirt pocket adds a second layer, so check its outline and work the nearby fabric in a small section. Keep the button band in view. Reposition the shirt before trying to reach a narrow area behind it. Let the garment settle before steaming over the same spot again. For a hanger-only model, preserve the approved head position throughout.
The Philips STH3000/26 is an example of a vertical-only handheld for this routine. It suits light hanging creases when there is already a safe rail or hanger point. Its instructions describe waiting for the ready light to go out and holding the appliance vertically. Philips 3000 Series operating instructions.
Philips 3000 Series Handheld Steamer STH3000/26
A folding handle and 100 ml removable tank make this a small appliance to put away after one or two garments. Philips states up to 20 g/min of continuous steam.
Good for
Quick touch-ups on hanging garments whose labels allow steam.
Bear in mind
Use it vertically. It has one steam setting, a small tank and a 220 V rating to check before travelling.
- 100 ml tank
- Folding handle
- Vertical use
- 2 m cord
3. Work around each sleeve
Let a sleeve fall from the shoulder and check whether it is folded back on itself at the elbow or cuff. Arrange it so you can see the surface you are treating. Follow the appliance’s technique, working from an area you can reach comfortably towards the cuff. Turn the garment to reach the second side. Keep fingers clear of the head even if you are lightly holding the sleeve from the edge.
For a casual shirt, pause once the main fold has eased. If you want a particular sleeve finish, decide whether you want a pressed line before working on a board. An existing folded line can look sharper than the rest of the sleeve after it settles. Use the appropriate method for the finish the shirt requires.
4. Choose how to finish the collar, cuffs and button band
Inspect these areas with the steam off. Collars and cuffs have several layers. Hanging steam may soften a light wrinkle, while a firm collar point or fold often benefits from a stable surface. If the garment permits pressing, use the temperature and steam treatment allowed by the label. Keep the soleplate away from unsuitable buttons or decoration. A garment steamer designed only for vertical use stays vertical, even when a detail is easier to reach flat.
The Russell Hobbs 28370 has a separate pressing method in its UK manual. Its heated plate is an option for suitable cuffs or collar areas on a flat surface that withstands heat and steam. Check the exact setup before using it. A conventional iron and board also give you a place to support the whole shirt if most of it needs pressing. Russell Hobbs 28370 user manual · How to iron a cotton shirt.
Russell Hobbs Steam Genie 2 in 1 28370
A ceramic heated plate adds a pressing option to hanging steaming. The UK instructions describe a steam trigger lock and a 60-second warm-up.
Good for
A hanging finish with occasional pressing of collars or cuffs on a suitable flat, heat-resistant surface.
Bear in mind
Pressing still needs a surface that withstands heat and steam. Unplug before filling through the water inlet.
- Pressing feature
- Ceramic heated plate
- Trigger lock
- 60-second heat-up
If the shirt will be worn under a jacket, button it as you would wear it and check how the collar points and button band lie. Open it again to adjust only the area that needs work. This also helps with a pocket or placket that appears smooth when pulled straight but looks uneven as soon as the shirt hangs naturally. Let the rest of the fabric settle on the hanger while you finish the detail.
5. Let the shirt dry and check the areas that show
Leave the shirt on the hanger until it is cool and dry. Check the two sides of the collar, the cuff folds and the fabric around the pocket and button band. In a layered section, the surface may look smooth before it has dried through. If you plan to pack the shirt, wait until it is dry so you can fold it with a clear view of the finish.
When a crease is still visible, decide whether another gentle pass or a different method is more suitable. A light fold across an open panel is a different job from an uneven placket or sharply folded cuff. If your steamer is producing droplets or has lost steam, check the appliance before continuing. Clothes steamer not producing steam? · Clothes steamer vs iron.
For a silk blouse, check when you can steam silk. A shirt with badges or a printed design also needs the checks in the garment trim guide.
Frequently asked questions
Should I button a shirt before steaming it?
Fasten a button if it helps the shirt sit securely on the hanger. Open enough buttons to reach each front panel and keep the front and back separate. Unfasten the cuffs so you can inspect them separately.
How do I steam sleeves without pressing in a line?
Let each sleeve hang in its natural position and work on one visible surface at a time. Turn the hanger or sleeve to reach the other side. Avoid trapping one side of the sleeve under the other.
Can a handheld steamer make a shirt collar crisp?
A vertical pass can ease some wrinkles. A flat, supported pressing method gives more control over the points and fold. If the label allows it, use an iron or a model whose instructions explicitly permit pressing.
How can I smooth the fabric beside the buttons?
Work one side of the button band at a time, following the model’s contact and distance instructions. Reposition the fabric to see the area clearly. Keep a hot plate away from buttons or trims unless their care permits contact.
Can I steam a cotton or linen shirt?
Check the label and maker’s instructions for the finished shirt. A light crease in suitable fabric may respond to steam. Heavier fabric or a deep fold may need supported pressing if that treatment is allowed.
Why is the shirt damp after steaming?
Steam adds moisture. Give the fabric time to cool and dry before wearing it. If you see droplets or persistent wet spots, pause and check the ready signal, tank fit and operating position in the manual.