
How to use a handheld clothes steamer
Steam a shirt or other suitable hanging garment, from checking its care label and filling the tank to removing creases and cooling the steamer.
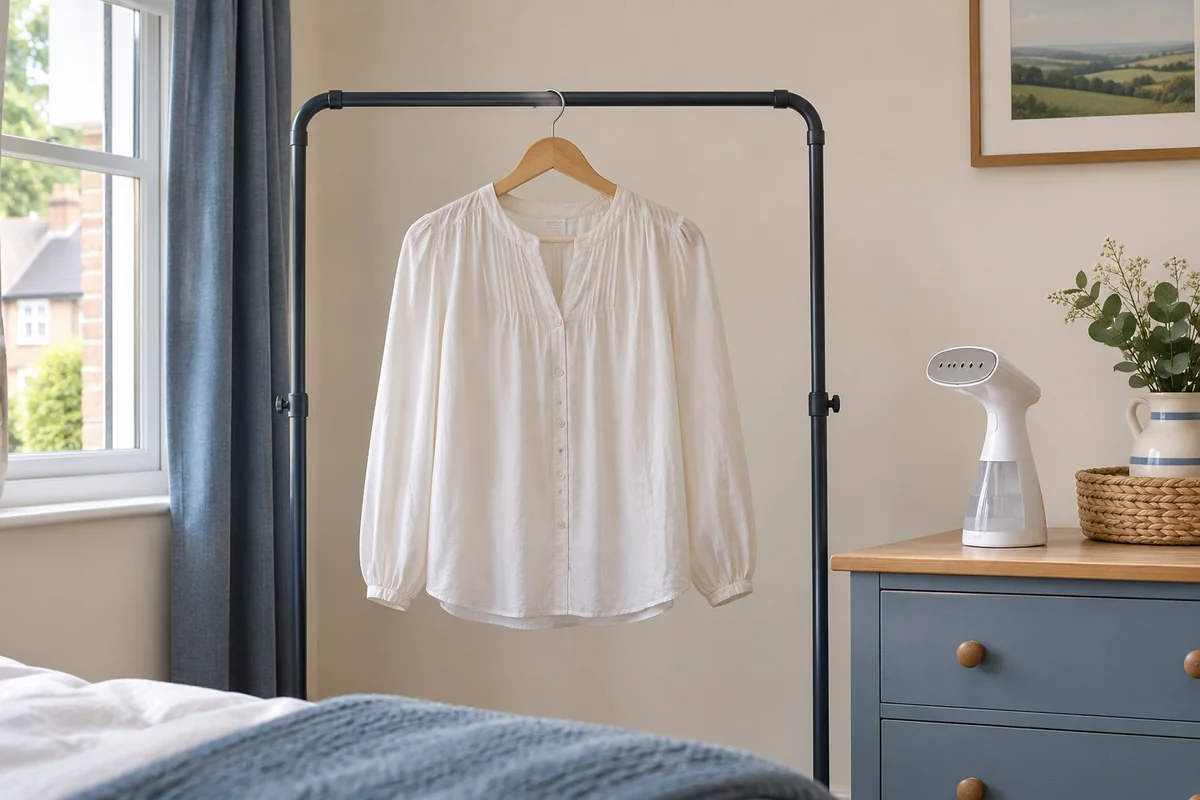
1. Check the garment and its care label
Choose one garment for your first run. An ordinary shirt with a few storage folds is a useful starting point if its label and maker allow steam. Read any written instructions alongside the symbols. A lining, print or glued decoration can affect how you care for the finished item, even if you recognise the fibre name.
Turn the garment enough to find a small hidden section to test, such as an area inside a hem where the fabric construction is representative. Check the care for any nearby trim separately. Inspect the test after the material has cooled. Put an uncertain garment aside until you can confirm the intended treatment. Clothes care symbols explained · GINETEX care guidance.
2. Make room to work around the hanger
Use a secure hanger and a stable rail or suitable fixed support. Hang the garment at a height where you can reach its shoulders and turn it with both feet on the floor. Leave space behind and beside the fabric for heat and moisture. Keep the working area clear of people and pets, and route the cord so it stays clear of your feet.
Plan where the hot appliance can rest. Use the position, stand or rest described in the manual and a surface that tolerates the heat. Set it up before plugging in. If the garment is long, make sure the lower section is accessible without dragging on the floor or wrapping around the steamer.
3. Fill with the water your model specifies
With the appliance switched off and unplugged, fill it as the manual shows. Stay below the maximum mark and secure the inlet or removable reservoir before plugging in. A tank that pulls off can go to the sink. For a capped inlet, fill in the resting position the manufacturer shows.
Check the guidance for the exact reference and the water in your area. Philips’ 3000 Series booklet permits tap water and gives hard-water guidance. Russell Hobbs recommends distilled, purified or filtered water for the 28370. The difference is a reason to keep each model’s instructions with the appliance. Water for steam irons and steamers.
4. Wait for the ready signal and start gently
Fit any suitable attachment while the appliance is cool, following the supplied instructions. Plug in and let the steamer reach its ready state. A blinking or steady light can mean different things by model. Check the manual and use the ready signal, with any priming step the maker specifies.
Keep the steam head directed away from yourself and others when starting. Begin on the hidden patch you selected. Use the model’s recommended angle and distance. Some instructions permit the plate to touch suitable fabric. Check the permitted method for your particular head and any attachment before putting it against the garment. Philips guide to steaming garments.
5. Smooth the front, back and sleeves in sections
Begin on a broad, easy-to-reach panel. Work down the shirt front in controlled passes, using the movement specified for your model. If its instructions call for gently tensioning the fabric, hold it at an edge away from the area you are steaming. Keep fingers, hands and arms clear of the steam path, including behind the fabric.
Pause to look at the result. Turn the hanger to reach the back and reposition each sleeve so you can see what you are working on. You can get a useful hanging finish even if the collar or cuffs still show a soft fold. If a section is getting damp, let it settle before deciding whether it needs further attention.
For a garment with two layers, examine each layer before applying steam. Check whether the lining and outer fabric share the same care permissions. If the label supports pressing and you want to define a collar or cuff, use a suitable iron or a model with a documented pressing method. Clothes steamer vs iron.
Adapt the method to the shape of the garment
For a button-front shirt, use the shirt steaming sequence to work around the collar, placket and sleeves.
For a long dress, check the skirt at its full hanging length before turning on the steamer. Work where you can reach each section without tilting a vertical-only appliance or leaning across the hot head. Rotate the hanger or change the position of the garment as needed. Give a lining or separate layer its own care check before treating it. If the garment needs extensive repositioning or if you regularly finish several long pieces, a suitable upright with a support panel may make the setup easier. Best upright clothes steamers.
What changes between handheld models?
Philips STH3000/26. Use it vertically and wait for the steam-ready signal. If the appliance stops producing steam, the 3000 Series manual points to checks including heating, water level, a fully pressed trigger and vertical orientation. The detachable 100 ml reservoir is useful for filling separately. Philips 3000 Series instructions.
Philips 3000 Series Handheld Steamer STH3000/26
A folding handle and 100 ml removable tank make this a small appliance to put away after one or two garments. Philips states up to 20 g/min of continuous steam.
Good for
Quick touch-ups on hanging garments whose labels allow steam.
Bear in mind
Use it vertically. It has one steam setting, a small tank and a 220 V rating to check before travelling.
- 100 ml tank
- Folding handle
- Vertical use
- 2 m cord
Russell Hobbs Steam Genie 28370. After warming it up, hold the trigger as directed to prime the pump. Repeat the manual’s reheating and priming procedure after a refill. The heated ceramic plate also has a specified method for pressing small areas on a suitable flat surface. Check that surface tolerates heat and steam. Russell Hobbs 28370 instructions.
Russell Hobbs Steam Genie 2 in 1 28370
A ceramic heated plate adds a pressing option to hanging steaming. The UK instructions describe a steam trigger lock and a 60-second warm-up.
Good for
A hanging finish with occasional pressing of collars or cuffs on a suitable flat, heat-resistant surface.
Bear in mind
Pressing still needs a surface that withstands heat and steam. Unplug before filling through the water inlet.
- Pressing feature
- Ceramic heated plate
- Trigger lock
- 60-second heat-up
If steam is weak or the head spits water
Start with warm-up and orientation. For a steamer that still has no output, work through the tank, trigger and priming checks. If the appliance is still heating, give it the time its instructions require. Check the permitted position before changing the angle. For a refill or tank check, switch off and unplug first. Confirm the seal or capped inlet is correctly closed, then restart as the manual directs.
If you see a leak, or if spitting persists with the correct water, fill and position, unplug it and consult the model’s troubleshooting guidance. Keep vinegar, fragranced water and other unapproved products out of the tank. Mineral build-up can reduce steam, and the maker’s cleaning method is the appropriate next step if it identifies scale as the cause.
If the first pass softened some creases and a dense seam remains, decide whether the job needs steam or pressure. Let a damp section dry before assessing it. If you regularly need to press that seam, use the method the care label allows and a stable supporting surface. Repeated steaming while the fabric is damp makes it harder to see the final finish.
Cool and store both the garment and the steamer
Leave the garment on its hanger until it is cool and dry before wearing or storing it. Check areas where two layers meet, including cuffs, collars and the button band. Switch the steamer off, unplug it and leave it in its specified resting position until cool. Empty and store it as the manual directs. For the next session, note which clothes you could finish comfortably in the space you have. Best handheld clothes steamers.
If you are still deciding where to work, set up a suitable hanging point before switching on the steamer.
Frequently asked questions
Should the steamer head touch the shirt?
Follow the garment and steamer instructions. Some heads are designed to contact suitable fabric. Follow the method specified for the exact head or attachment, start on an inconspicuous area and check it after cooling.
Can I steam a shirt while wearing it?
Take it off and hang it securely first. Steam and hot droplets can burn skin, including through fabric. Keep your free hand clear of the steam path and work at a height you can reach comfortably.
Can I lay the garment flat to steam it?
Use a flat position only if the exact model permits it and the surface is suitable for heat and moisture. Philips STH3000/26 is a vertical example. Russell Hobbs 28370 has a separate pressing method described in its manual.
Why is my handheld steamer leaving wet patches?
Pause and check warm-up, fill level, tank closure and the angle permitted by your model. If droplets continue or you see a leak, switch off and unplug. Check the troubleshooting instructions before trying again.
Can I use tap water in a handheld steamer?
Check the exact manual. Some models permit tap water and give different instructions in hard-water areas. Others recommend distilled, purified or filtered water. Use the water your model specifies and keep scents and other additives out of the tank.
What should I do if the collar is still creased?
Let the shirt cool and check whether you need a sharper pressed finish. If the label permits it, a suitable iron and board give you a flat surface to shape a collar or cuff. A steamer with an explicit pressing feature is another option.